


If you wear your casual and dress shirts like we wear our shirts, chances are you’ve run into some button trouble over the years. Loose threading, heat damage, simple snags… Whatever the culprit, we’ve got a quick and easy guide to help you replace buttons and repair buttonholes from the comfort of your own home. Don’t let your favorite shirts languish at the back of your closet—let’s bring ’em back to life.

How to Sew On A Button
What you'll need
- A button (we include extra buttons with our shirts—check under the placket)
- A sewing needle
- Thread (try to match the original color if possible)
- Scissors

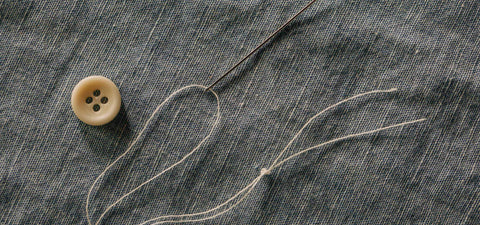
Step 01/10
Thread the needle, giving yourself approximately twelve inches of length to work with, and tie the ends into a knot to form a loop. We recommend doubling this knot to give it some bulk.

Step 02/10
Cut the excess thread after the knot.

Step 03/10
Thread the needle in and out of the fabric at the button’s intended location and pull until the knot you made in Step 1 catches.

Step 04/10
Grab your button and slide it down the needle and thread so that it rests against the fabric.

Step 05/10
Once the button’s situated, thread the needle through the opposite buttonhole, down through the fabric, and back up again through the original hole. This will make the first line in the “x”. Repeat 3 times.

Step 06/10
Complete the “x” by repeating step 5 with the remaining holes. Again, repeat 3 times.

Step 07/10
Thread the needle through button and the top of fabric again. On its return trip, don’t thread it through a buttonhole but instead pass under the button.

Step 08/10
Wrap the thread around the button several times.

Step 09/10
Knot the thread tightly around the button at least twice, and cut the excess thread.

Step 10/10
Pat yourself on the back for a job well done.
How to Fix A Frayed Buttonhole
If you find your buttons don’t stay closed like they used to due to fraying or stretching, don’t fret; here are a few simple steps to repair a worn-out buttonhole and get your daily driver denim back on the road.
What you'll need
- A needle and thread
- A razor blade or sharp knife
Step 1
Use a razor blade or knife to cut away any frayed material or loose threads.
Step 2
Cut yourself about twelve inches of thread, pass it through the needle, and double knot it at the end.
Step 3
Working at the edge of the buttonhole, pass the needle through your fabric, then back up through your loop of thread. Pull tight to create a knot (adjust as needed to ensure your knot is facing towards the opening of your buttonhole).
Step 4
Repeat this process, working your way all the way around your buttonhole.
Step 5
Tie off your thread on the inside face of the fabric and trim any excess thread. is process, working your way all the way around your buttonhole.
If fraying is your only issue, congratulations; you’re done! If your buttonhole is stretched, skip step five and move onto the following steps.
How to Fix A Stretched Buttonhole
What you'll need
- A needle and thread
- Tailor's chalk (optional)
- A razor blade or sharp knife
Step 1
Measure your button and mark its diameter on your buttonhole to ensure it will fit after mending.
Step 2
Using a figure eight stitch or simple ladder stitch, choose a side of your buttonhole (viewing it horizontally) and work inward, making the hole smaller until it reaches your markings from Step 1.
Step 3
Tie off your thread on the inside face of the fabric and trim any excess thread.
Nice work, you’re done!

